Mounting TV on the ceiling
This guide will walk you through the process of mounting a TV on the ceiling, covering essential steps, tools, and tips to ensure a successful installation.
Mounting a TV on the ceiling can be a game-changer for your home entertainment setup, offering unique viewing angles and freeing up valuable wall and floor space. Whether you're looking to install a TV in your living room, bedroom, or even a commercial setting, ceiling mounts provide a versatile solution.
Why Choose a Ceiling Mount for Your TV?
Ceiling mounts are ideal for various scenarios, including:
-
Space Optimization
Ceiling mounts save wall and floor space, making them perfect for small rooms or areas with limited wall space.
-
Unique Viewing Angles
They provide flexible viewing angles, which can enhance the overall viewing experience, especially in rooms with unusual layouts.
-
Modern Aesthetic
Ceiling-mounted TVs can give your space a modern, sleek look.
-
Versatility
Suitable for both residential and commercial spaces, including bedrooms, living rooms, offices, gyms, and public areas.
Tools and Materials Needed

Before starting the installation, gather the necessary tools and materials:
- Ceiling TV mount kit (ensure it's compatible with your TV size and weight)
- Drill and drill bits
- Stud finder
- Measuring tape
- Level
- Socket wrench or screwdriver
- Lag bolts or anchor bolts (depending on your ceiling type)
- Safety goggles and gloves
- Pencil or marker
- Ladder or scaffolding (if needed)
Step-by-Step Guide to Mounting a TV on the Ceiling
Step 1: Choose the Right Ceiling Mount
Selecting the appropriate ceiling mount is crucial for a successful installation. Consider the following factors:
-
TV Size and Weight
Ensure the mount can support your TV's size and weight. Check the manufacturer's specifications for weight limits.
-
Mount Type
There are fixed mounts (static position) and articulating mounts (adjustable position). Choose based on your preference for viewing angles.
-
Ceiling Type
Consider whether your ceiling is flat, sloped, or vaulted. Some mounts are specifically designed for angled ceilings.
Step 2: Locate the Installation Area
Identify the ideal location for your ceiling-mounted TV. Consider factors such as:
- Viewing Angle: Ensure the TV is positioned at a comfortable viewing angle. Measure the distance from the seating area to the TV to determine the optimal height and position.
- Room Layout: Ensure the TV is centrally located and visible from all desired viewing spots.
- Power Source: Ensure there is easy access to a power outlet and cable connections.
Step 3: Find the Ceiling Joists
Using a stud finder, locate the ceiling joists in the installation area. Ceiling joists provide the necessary support for the TV mount. Mark the joist locations with a pencil or marker.
Step 4: Measure and Mark the Mounting Points
Measure the spacing of the mounting holes on the TV mount bracket. Transfer these measurements to the ceiling, aligning them with the marked joist locations. Use a level to ensure the marks are even.
Step 5: Drill Pilot Holes
Drill pilot holes at the marked locations on the ceiling. These holes will guide the screws or bolts and prevent the wood from splitting. Use a drill bit that matches the size of the screws or bolts provided with your mount.
Step 6: Attach the Ceiling Mount Bracket
Position the ceiling mount bracket over the pilot holes and secure it using lag bolts or anchor bolts. Tighten the bolts with a socket wrench or screwdriver until the bracket is firmly attached to the ceiling.
Step 7: Attach the TV Mounting Plate
Attach the mounting plate to the back of your TV. Most TVs have pre-drilled holes for mounting brackets. Align the plate with these holes and secure it using the screws provided with the mount kit. Make sure the plate is firmly attached and level.
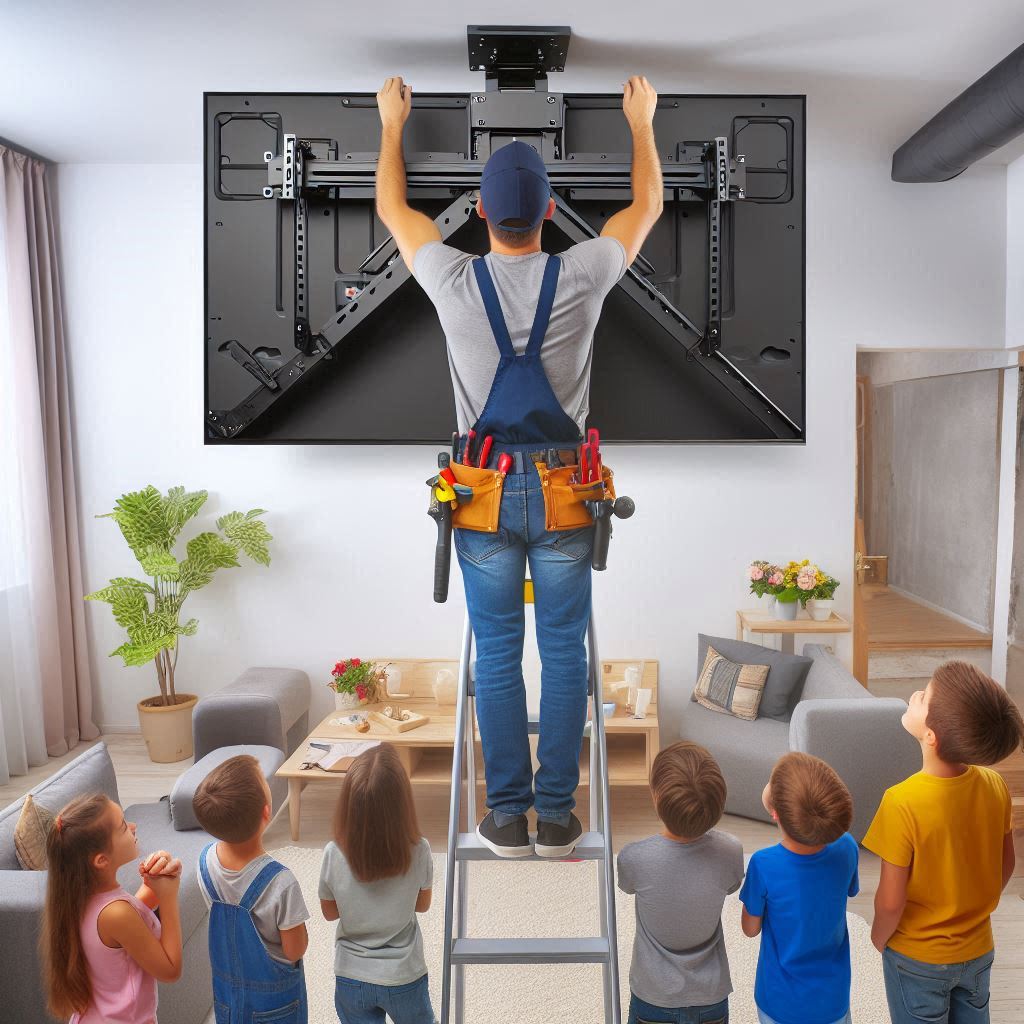
Step 8: Hang the TV on the Ceiling Mount
With the help of a second person, lift the TV and hang it on the ceiling mount bracket. Ensure the TV is securely attached to the bracket. Follow the manufacturer's instructions for locking the TV in place.
Step 9: Adjust the Viewing Angle
If you’re using an articulating mount, adjust the TV to the desired viewing angle. Tighten any adjustment screws or knobs to lock the TV in position.
Step 10: Connect Cables and Power
Connect the necessary cables, including power, HDMI, and any other required connections. Ensure the cables are neatly organized and do not obstruct the viewing area. Use cable ties or clips to manage and secure the cables.
Step 11: Test the Installation
Turn on the TV and test the installation. Check for stability and ensure the TV is securely mounted. Adjust the viewing angle if necessary and confirm that all connections are working properly.
Things to Remember When Mounting a TV on the Ceiling
Mounting a TV on the ceiling requires careful planning and attention to detail. Here are some important considerations:
Safety First
- Weight Capacity: Always ensure the ceiling mount can support your TV’s weight. Overloading the mount can lead to accidents and damage.
- Secure Mounting: Double-check that all screws, bolts, and brackets are securely fastened. Use a level to ensure the mount is even.
- Helper: Enlist the help of a second person to assist with lifting and positioning the TV. This reduces the risk of injury and ensures accurate installation.
Cable Management
- Conceal Cables: Use cable management solutions to conceal and organize cables. This not only improves aesthetics but also prevents tripping hazards.
- Power Source: Ensure easy access to power outlets and cable connections. Consider using a power strip or surge protector for additional safety.
Viewing Comfort
- Optimal Height: Position the TV at a comfortable viewing height. Avoid mounting the TV too high or too low, which can strain your neck and eyes.
- Adjustable Mounts: If possible, choose an articulating mount that allows you to adjust the viewing angle. This provides flexibility for different viewing positions.
Ceiling Type
- Joist Location: Always mount the TV bracket to ceiling joists for maximum support. Avoid mounting directly to drywall or plaster, which cannot support the weight.
- Sloped Ceilings: If you have a sloped ceiling, choose a mount designed for angled surfaces. Ensure the TV is level and stable.
Professional Assistance
- Consult Experts: If you’re unsure about any aspect of the installation, consult a professional. They can provide guidance and ensure a safe, secure installation.
- Manufacturer Instructions: Follow the manufacturer’s instructions carefully. Each mount may have specific requirements and recommendations.
Conclusion
Mounting a TV on the ceiling can transform your viewing experience and free up valuable space in your home or office. By following this comprehensive guide, you can ensure a safe and successful installation. Remember to choose the right mount for your TV and ceiling type, use proper tools and materials, and prioritize safety throughout the process. With careful planning and execution, you’ll enjoy a modern, clutter-free viewing setup that enhances your entertainment space.
For more information and to explore a wide range of ceiling TV mounts, visit www.condomounts.com. Happy mounting!