Mounting a TV on a slanted wall
Mounting a TV on a slanted wall presents a unique set of challenges and opportunities. Whether you're dealing with a sloped ceiling, an angled attic space, or a cozy attic nook, mastering the art of TV installation on a slanted surface can elevate your viewing experience while maximizing space efficiency. In this comprehensive guide, we'll explore the step-by-step process, expert tricks, and essential tips for mounting a TV on a slanted wall. Let's get started!
Understanding the Challenges:
Before diving into the installation process, it's essential to understand the challenges associated with mounting a TV on a slanted wall. Unlike flat walls, slanted surfaces require careful planning and precision to ensure a secure and aesthetically pleasing installation. Common challenges include:
2. Limited Stud Availability: Finding suitable stud locations on a slanted wall can be tricky, as studs may be spaced unevenly or located at awkward angles.
3. Cable Management: Concealing cables and wires on a slanted wall can be more challenging than on a flat wall, requiring creative solutions to maintain a clean and organized appearance.
Despite these challenges, mounting a TV on a slanted wall is entirely feasible with the right tools, techniques, and know-how.
Step-by-Step Installation Guide:
Follow these step-by-step instructions to mount your TV securely on a slanted wall:
2. Select the Right Mount: Choose a TV mount designed specifically for sloped or angled surfaces. These mounts typically feature adjustable brackets or articulating arms that can accommodate various angles and provide flexibility for optimal viewing.
3. Prepare the Mounting Surface: Before mounting the TV, ensure the slanted wall surface is clean and free of debris. Use a level to verify the angle of the wall and make any necessary adjustments to ensure a straight and even installation.
4. Mark Mounting Locations: Use a pencil to mark the desired mounting locations on the slanted wall, taking into account stud locations and the positioning of the TV mount. Double-check the alignment and levelness of the marks before proceeding.
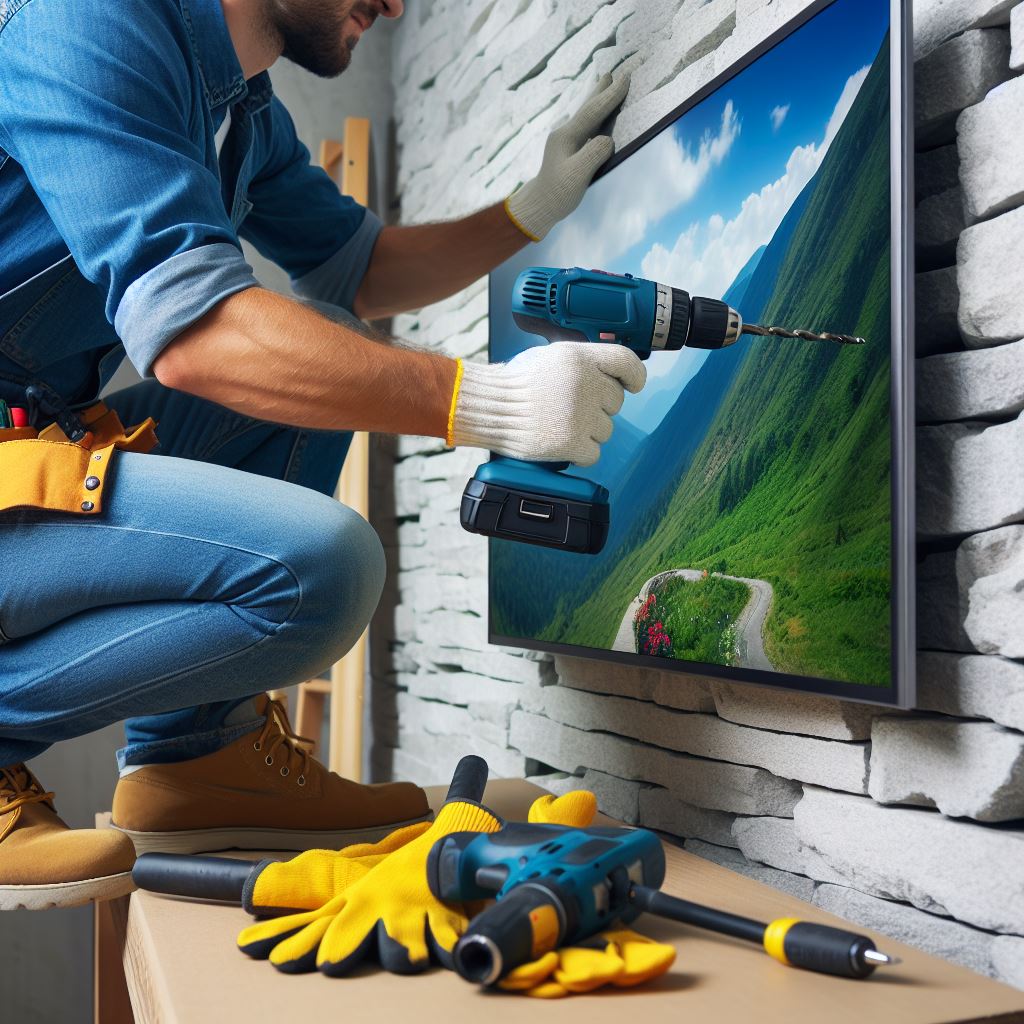
5. Pre-Drill Pilot Holes: Using a power drill with the appropriate drill bit, pre-drill pilot holes at the marked locations on the slanted wall. Be mindful of the angle and depth of the holes to ensure proper anchoring and stability.
6. Attach Mounting Hardware: Depending on the type of TV mount selected, attach the mounting brackets or hardware to the slanted wall using sturdy screws or anchors. Ensure the brackets are securely fastened and aligned with the pilot holes.
7. Mount the TV: With the mounting hardware in place, carefully lift the TV and align it with the brackets on the slanted wall. Follow the manufacturer's instructions for securely attaching the TV to the mount, making any necessary adjustments for optimal positioning.
8. Test Stability and Alignment: Once the TV is mounted, test its stability and alignment by gently nudging it from different angles. Use a level to verify that the TV is horizontally aligned and adjust as needed for optimal viewing.
Expert Tricks and Tips:
2. Cable Management Solutions: To conceal cables and wires on a slanted wall, consider using cable raceways, conduit tubing, or adhesive cord clips. Plan the cable route carefully to ensure a neat and tidy appearance.
3. Distribute Weight Evenly: When mounting a TV on a slanted wall, distribute the weight evenly across the mounting hardware and studs to prevent strain or damage to the wall surface.
4. Seek Professional Advice: If you're uncertain about mounting a TV on a slanted wall or encounter challenges during the installation process, don't hesitate to seek professional assistance from a qualified installer or handyman.
Conclusion:
Mounting a TV on a slanted wall requires careful planning, precise execution, and attention to detail. By following the step-by-step instructions, expert tricks, and essential tips outlined in this guide, you can achieve a secure and visually appealing installation that enhances your viewing experience while complementing your space. Say goodbye to awkward angles and hello to seamless TV mounting on slanted walls!
With the right tools and techniques, you can transform any sloped surface into a stylish and functional entertainment area. Happy mounting!