How to patch drilled holes on concrete?
In this guide, we'll explore several methods for repairing these holes, along with some tips and tricks to ensure a smooth finish.
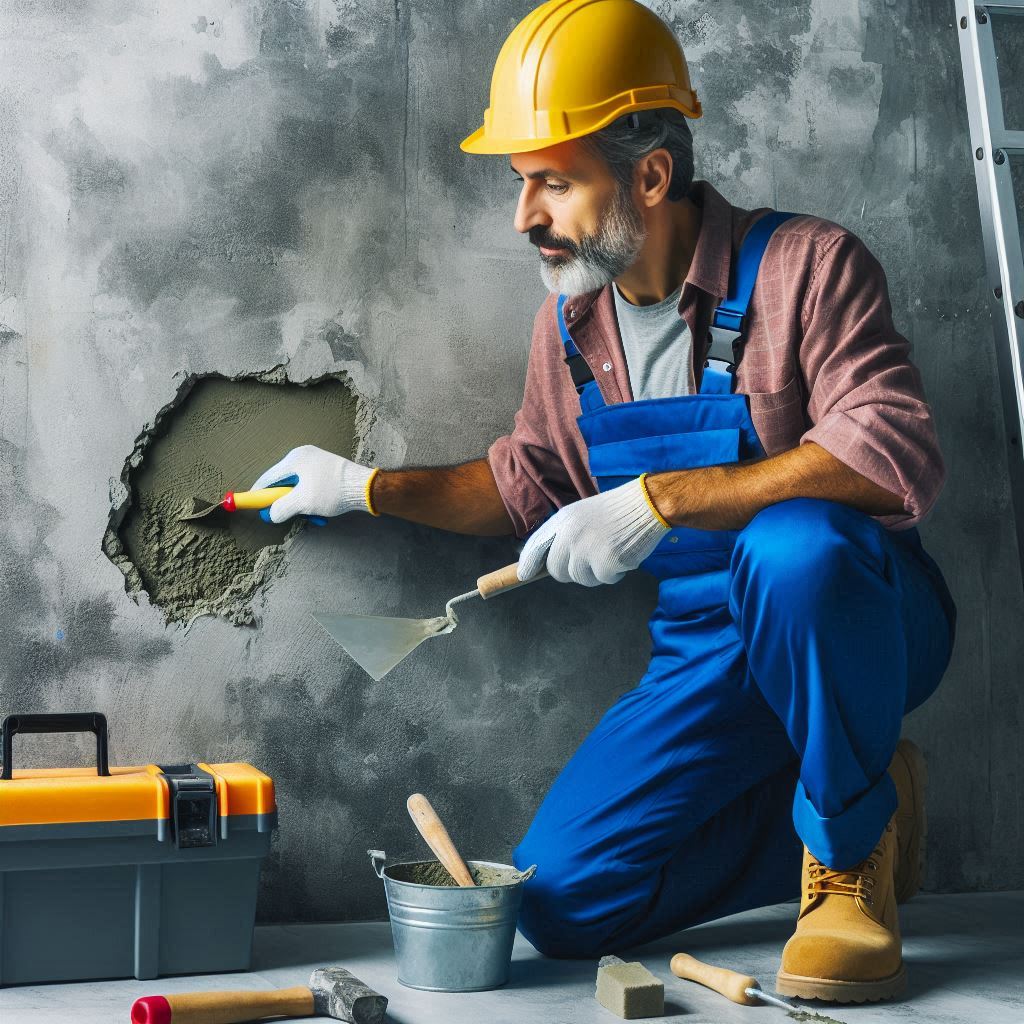
Drilling into concrete is often necessary for various home improvement projects, but those holes can become an eyesore or a problem if not properly patched. Whether you’ve removed an old fixture or need to fix some unsightly holes, knowing how to patch drilled holes in concrete is essential for maintaining the appearance and integrity of your walls.
Understanding Concrete Patching

Concrete is a tough and durable material, but it can crack or become damaged over time. Patching holes in concrete requires a methodical approach to ensure a lasting repair. The right method depends on the size and depth of the holes and the type of finish you desire.
Methods for Patching Drilled Holes
-
Using Concrete Patch Compound

Materials Needed:
- Concrete patch compound
- Putty knife or trowel
- Wire brush
- Cleaning cloth
- Water
Steps:-
Prepare the Area:
Clean the hole and surrounding area with a wire brush to remove any loose debris. Wipe the area with a damp cloth to ensure it’s clean.
-
Mix the Compound:
Follow the manufacturer’s instructions to mix the concrete patch compound. The consistency should be similar to thick paste.
-
Apply the Compound:
Use a putty knife or trowel to fill the hole with the compound. Press it in firmly to ensure good adhesion.
-
Smooth the Surface:
Smooth the surface with the putty knife, blending it with the surrounding concrete. Allow it to cure as per the product instructions.
Tips:- For larger holes, you may need to use a bonding agent before applying the compound.
- Ensure the hole is completely dry before applying the patch.
-
Using Epoxy Concrete Repair Kits

Materials Needed:
- Epoxy concrete repair kit
- Mixing tool
- Putty knife
- Cleaning cloth
Steps:-
Clean the Hole:
Remove any debris and dust from the hole with a wire brush. Wipe the area with a damp cloth.
-
Mix the Epoxy:
Follow the kit instructions to mix the epoxy resin and hardener.
-
Apply the Epoxy:
Pour the mixed epoxy into the hole, using a putty knife to smooth it out.
-
Allow to Cure: Let the epoxy cure according to the manufacturer’s instructions.
Tips:
- Epoxy is ideal for holes that are subject to moisture or heavy wear.
- Be mindful of the working time for epoxy, as it can set quickly.
-
Using Hydraulic Cement

Materials Needed:
- Hydraulic cement
- Water
- Mixing container
- Trowel
Steps:-
Prepare the Surface:
Clean the hole thoroughly and remove any loose concrete.
-
Mix the Cement:
Combine hydraulic cement with water in a mixing container. The mixture should be thick and workable.
-
Fill the Hole:
Press the hydraulic cement into the hole with a trowel, making sure it’s packed tightly.
-
Smooth and Finish:
Smooth the surface with the trowel, and let it cure as directed.
Tips:
- Hydraulic cement sets very quickly, so work fast.
- It’s suitable for both small and large holes.
General Tips and Tricks
-
Ensure Proper Curing:
Allow your patch to cure fully before painting or applying any additional finishes. Curing times can vary based on the product and environmental conditions.
-
Use Primer for Paint:
If you plan to paint over the patched area, use a concrete primer to help the paint adhere properly.
-
Prevent Future Damage:
To avoid new holes or cracks, ensure that any fixtures or hardware are securely anchored and avoid overloading the concrete surface.
By following these methods and tips, you can effectively patch drilled holes in concrete, restoring the integrity and appearance of your walls. Whether you choose a concrete patch compound, epoxy repair kit, or hydraulic cement, proper preparation and application will ensure a professional-looking finish that stands the test of time.