How to Mount a TV on a Concrete Wall: Step-by-Step Guide?
In this step-by-step guide, we’ll walk you through the entire process to ensure that you mount your TV securely and safely.
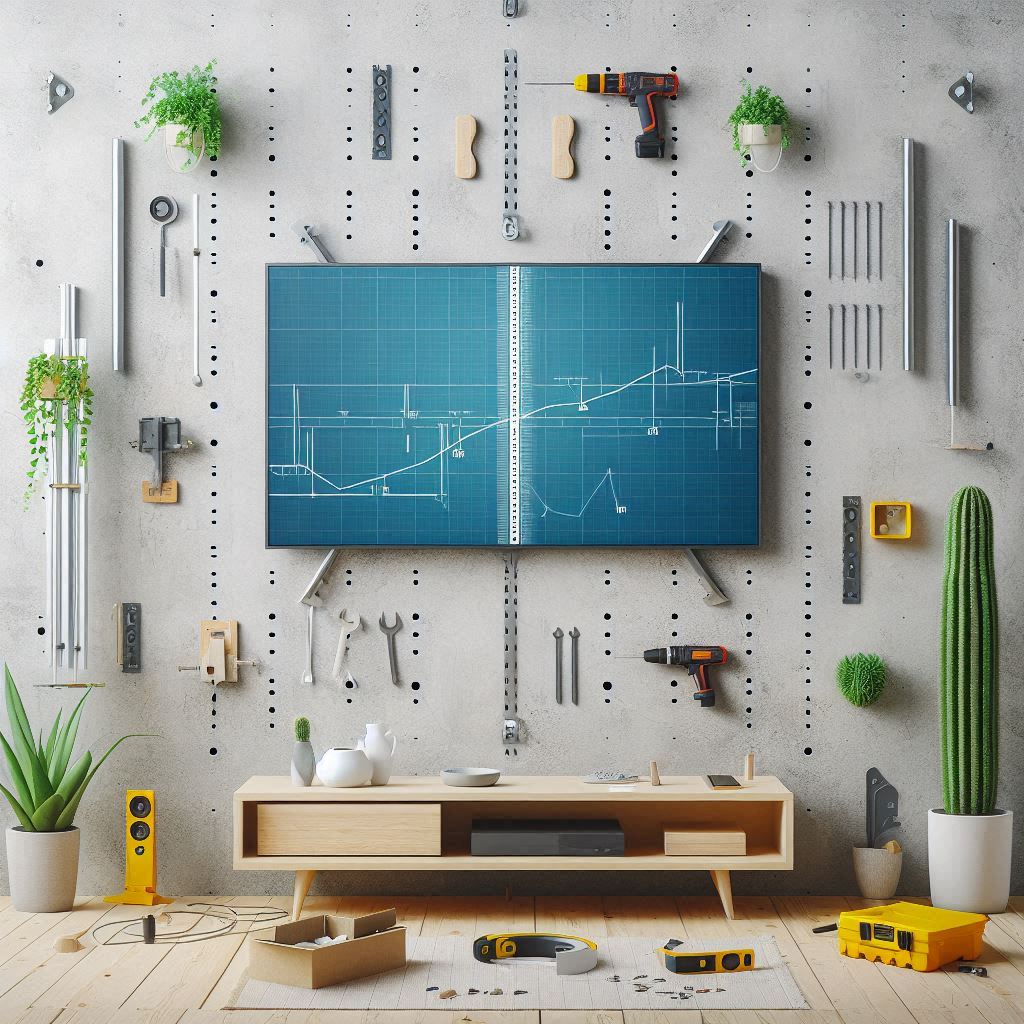
Mounting a TV on a concrete wall is an excellent way to create a clean, modern, and space-saving look in your living room. Concrete walls provide solid support for heavy televisions and allow you to free up floor space, making your room feel more organized and spacious. However, the process of mounting a TV on concrete can seem daunting, especially if you're not familiar with the tools or techniques involved.
What You’ll Need:
Before getting started, gather the following tools and materials:
- TV wall mount bracket (ensure it's compatible with your TV’s size and weight)
- Drill with masonry bit
- Concrete anchors or Elephant Anchors
- Measuring tape
- Level
- Pencil or chalk for marking
- Screws (usually come with the TV mount)
- Socket wrench
- Screwdriver
- Hammer (for inserting anchors)
- Stud finder (optional, for locating reinforcement in the concrete)
Step 1: Choose the Right Mounting Bracket

The first step in mounting a TV on a concrete wall is selecting the correct TV wall mount. Full-motion, tilt, or fixed mounts all come with varying features, so consider what best suits your viewing preferences. If you want to adjust the angle of your TV, a full-motion mount is ideal. Make sure the mount is rated for the size and weight of your TV for secure mounting.
Step 2: Determine the Optimal TV Height
Think about the viewing angle and where the TV will be placed in the room. Generally, the ideal height for mounting a TV is at eye level when sitting comfortably on your couch. Measure the height you want your TV to be, and use a pencil to mark the desired location. Make sure the TV isn’t too high, as it can cause neck strain, and not too low, as it may compromise your viewing angle.
Step 3: Mark the Wall
Once you've selected the spot for your TV, it’s time to mark the wall. Hold the TV wall mount bracket against the wall at the marked height. Use a level to ensure that the bracket is perfectly straight. Then, using a pencil or chalk, mark the positions where the mounting holes will go. This is where you’ll drill the holes into the concrete. Double-check the measurements to ensure the holes align with your TV’s mounting points.
Step 4: Drill the Holes

Now, you’ll need a power drill with a masonry bit to drill into the concrete wall. The masonry bit is specifically designed to penetrate hard surfaces like concrete. Start by drilling small pilot holes at the marked spots. Once the pilot holes are made, switch to a larger masonry bit to create the correct hole size for your anchors. Make sure to drill straight to ensure the wall mount is properly aligned.
Step 5: Insert the Anchors
Once the holes are drilled, it’s time to insert the concrete anchors. If you’re using Elephant Anchors or similar heavy-duty concrete anchors, gently tap them into the holes using a hammer until they are flush with the wall. These anchors will provide the necessary grip to securely hold the wall mount and TV. If you’re using different types of anchors, follow the manufacturer’s instructions for insertion.
Step 6: Attach the Mount to the Wall
Now, it’s time to attach the TV wall mount bracket to the wall. Line up the mounting holes with the anchors you’ve installed and carefully screw the bracket into place using a socket wrench. Ensure that all screws are tight and the bracket is firmly secured to the concrete wall.
Step 7: Mount the TV on the Wall Bracket
With the bracket securely attached to the wall, it’s time to mount the TV. If your TV is heavy, it’s best to have someone assist you in lifting it onto the bracket. Carefully align the TV’s mounting holes with the hooks or arms on the bracket. Once aligned, secure the TV to the mount using the provided screws or bolts. Most mounts have a locking mechanism to keep the TV in place, so be sure to engage it.
Step 8: Adjust the TV Position
If you’ve chosen a full-motion mount, you can adjust the angle and position of your TV once it’s mounted. Take your time to find the perfect angle for optimal viewing. If you have a tilt mount, adjust it to reduce glare and improve visibility. Make sure everything is locked in place and the TV is stable before letting go.
Step 9: Tidy Up the Cables
The last step is to organize the cables. You can use cable management clips or an in-wall cable kit to hide any unsightly cables running from your TV to the power outlet, HDMI devices, or other equipment. Keeping the cables organized not only improves the aesthetic of your setup but also reduces the risk of tripping.
Conclusion
Mounting a TV on a concrete wall may seem challenging at first, but by following these simple steps, you can easily transform your living room into a sleek and modern space. With the right tools, materials, and patience, you’ll have your TV securely mounted in no time. Whether you're watching movies, playing games, or just relaxing, a properly mounted TV will elevate your entertainment experience and free up space for a more open, clutter-free room.