How do I convert a wall-mounted TV to a stand?
Mounting a TV on a wall can save space and provide a sleek look to your living room or bedroom. However, there may come a time when you need or prefer to convert your wall-mounted TV to a stand. Whether you’re moving to a new place, redecorating, or simply changing your setup, converting a wall-mounted TV to a stand is a straightforward process. In this blog post, we’ll provide a step-by-step guide on how to do this effectively.
Why Convert a Wall-Mounted TV to a Stand?
Before diving into the steps, it’s important to understand the reasons why you might want to convert a wall-mounted TV to a stand:
- Flexibility: A TV on a stand can be moved easily, giving you more flexibility in rearranging your room.
- Temporary Setup: If you’re renting or planning to move soon, a stand can be a more practical option.
- Redecorating: Changing your room’s layout might necessitate a different placement for your TV.
- Accessibility: A TV on a stand can be more accessible for connecting cables and other devices.
Step-by-Step Guide to Converting a Wall-Mounted TV to a Stand
1. Gather Your Tools and Materials
Before starting, make sure you have all the necessary tools and materials:
- Screwdriver or drill
- TV stand
- Screws and bolts (usually provided with the TV stand)
- Measuring tape
- Soft cloth or blanket
2. Turn Off and Unplug the TV
Safety first! Turn off your TV and unplug it from the power source. Disconnect any attached devices such as HDMI cables, gaming consoles, or sound systems. This ensures that you can handle the TV without any risk of electric shock or damaging the connected devices.
3. Prepare a Safe Workspace
Lay a soft cloth or blanket on a flat surface to place your TV on. This will protect the screen from scratches and damage while you’re working on it. Ensure you have enough space to maneuver around the TV comfortably.
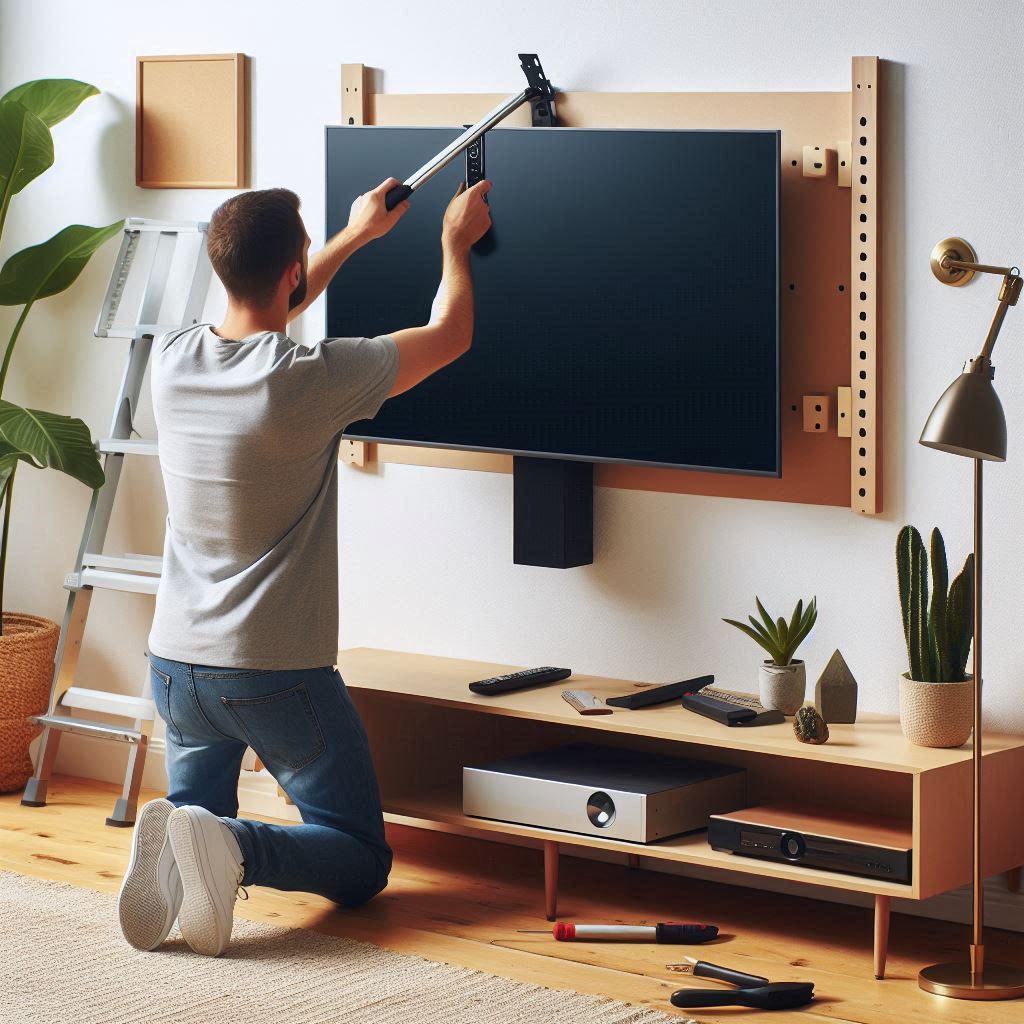
4. Remove the TV from the Wall Mount
This step can be a bit tricky, so it’s advisable to have a second person to help you. Carefully lift the TV off the wall mount. Some mounts have a locking mechanism or screws that need to be loosened before the TV can be removed. Follow these steps:
- Check the back of the TV for any screws or locking tabs securing it to the mount.
- If there are screws, use a screwdriver to remove them.
- If there are locking tabs, release them according to the mount’s instructions.
- Gently lift the TV off the mount, ensuring you support its weight evenly.
5. Remove the Wall Mount Bracket from the TV
Once the TV is safely placed on the soft surface, locate the brackets that were attached to the back of the TV for wall mounting. These brackets are usually secured with screws. Use a screwdriver to remove these screws and detach the brackets from the TV. Keep the screws and brackets in a safe place in case you need them in the future.
6. Prepare the TV Stand
Unpack the TV stand and read the instructions carefully. Different stands have different assembly requirements. Most stands come with a base, a support column, and a mounting bracket. Assemble the stand according to the manufacturer’s instructions, ensuring all parts are securely fastened.
7. Attach the TV to the Stand
Align the mounting holes on the back of the TV with the holes on the stand’s bracket. Use the screws provided with the stand to secure the TV to the bracket. Make sure the screws are tightened properly, but avoid over-tightening as this could damage the TV.
8. Secure Cables and Wires
Once the TV is attached to the stand, reconnect all the cables and devices you had unplugged earlier. Organize the cables neatly to prevent tangling and ensure easy access. You can use cable ties or clips to keep them in order.
9. Test the Setup
After everything is connected, plug the TV back into the power source and turn it on. Test the TV to ensure it’s working correctly and that all connected devices are functioning properly. Adjust the position of the stand if needed to achieve the best viewing angle.
10. Final Adjustments and Safety Checks
Make any final adjustments to the TV’s position on the stand. Ensure the stand is placed on a stable and level surface to prevent tipping. If the stand has adjustable features, like height or tilt, set them according to your preference. Double-check all screws and connections to ensure they are secure.
Tips for a Smooth Transition
- Read Instructions Thoroughly: Whether it’s the wall mount, TV, or stand, always read the manufacturer’s instructions carefully to avoid any mistakes.
- Get Help: TVs can be heavy and awkward to handle alone. Having a second person to help can prevent accidents and make the process easier.
- Use Quality Tools: Ensure you have the right tools for the job. Using the wrong screwdriver or drill bit can strip screws and damage your TV or stand.
- Take Your Time: Rushing through the process can lead to mistakes. Take your time to ensure each step is completed correctly and safely.
Conclusion
Converting a wall-mounted TV to a stand is a straightforward process that can be accomplished with some basic tools and careful attention to detail. Whether you’re moving, redecorating, or simply prefer the flexibility of a TV stand, following these steps will help you transition smoothly. By preparing properly and taking your time, you can enjoy a new setup that meets your needs and enhances your viewing experience.
Remember, the key to a successful conversion is patience and precision. With the right approach, you can easily switch from a wall-mounted TV to a stand, giving you the flexibility and mobility you need for your living space. Happy viewing!